How to wire led strip lights and installation precautions
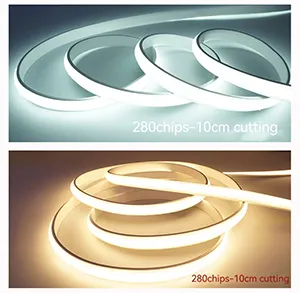
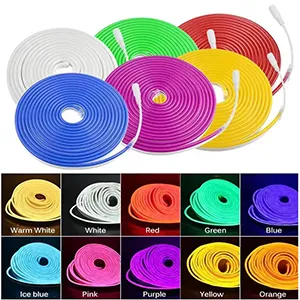
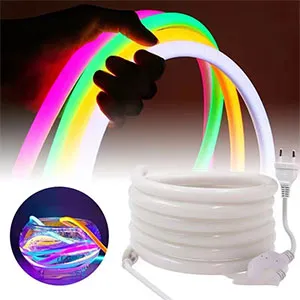
In fact, we can see colorful and diverse LED strip lights on the streets or in some public places. They are especially beautiful when night comes. Of course, we can also install it at our own home. The main topic today is how to wire LED strip lights and installation precautions
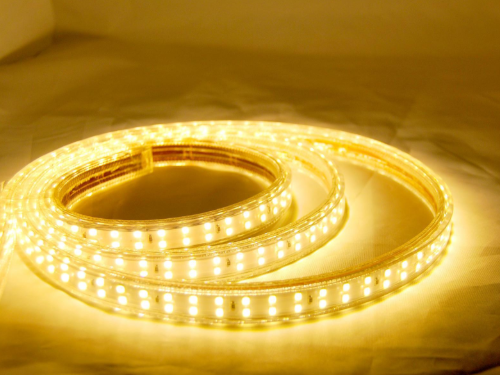
1. How to wire LED strip lights
1. Welding method
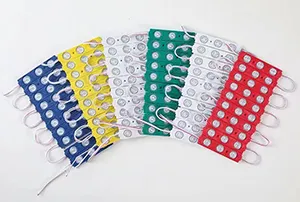
The first step is to determine whether the installed light strip/LED light strip uses high-voltage electricity or low-voltage electricity (taking into account the safety of electricity use, it is best to use low-voltage electrically activated strip lights). After choosing a low-voltage LED light strip, you need to First, observe that there are two dots for every three lamp beads on the lamp strip. Just solder the wire to the dots. However, some children's shoes will use high-voltage strip lights in consideration of brightness and illumination. If the high-voltage light strip is plugged in with a pin, it can be connected to a household power supply of 220 volts.
2. Terminal wiring method
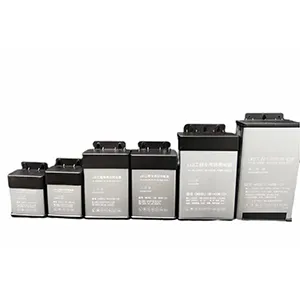
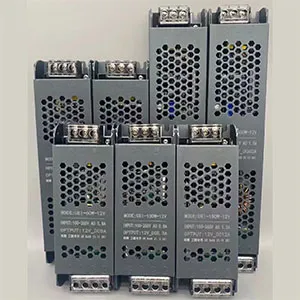
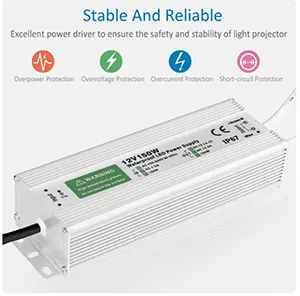
First, all the lamp beads are mixed and connected in series with a number of resistors. This is a lamp strip that requires 12V DC power supply. Directly connect the two output lines of the 12V DC power supply (either regulated or unregulated) to the positive and negative sides of the lamp strip. Just plug the power plug into the household AC power socket on the negative terminal, or you can use a 12V battery pack to directly drive this kind of light strip.
3. Drive connection method
First, a lamp strip with all lamp beads connected in series needs to be equipped with a capacitor-ballasted constant current driver (there is also a better switch-type constant current driver suitable for driving low-voltage lamp strips). Insert the two pins of the driver plug into the cores of the two leads of the light strip according to the correct polarity, and then plug the driver power plug into a household 220-volt AC power socket.
2. Things to note when installing LED strip lights
1. Do not turn on the power to light up the LED strip lights before the entire roll of LED strip lights is removed from the packaging or piled up.
2. When the LED light strip needs to be cut according to the length of the on-site installation, the light strip can only be cut at the place marked with scissors, otherwise one of the units will not light up. Generally, the length of each unit is 1.5-2 meters.
3. When connecting the power supply or connecting two strip lights in series, first bend the head of the Licai lamp to the left and right to expose about 2-3mm of the wires in the light strip. Use scissors to cut it clean without leaving burrs, and then use a male needle to connection to avoid short circuit.
4. Only LED colorful strip lights with the same specifications and the same voltage can be connected in series, and the total length of the series connection cannot exceed the maximum allowable length.
5. When LED strip lights are connected in series, try to light up a section each time a section is connected, so as to promptly discover whether the positive and negative poles are connected incorrectly and whether the light emitting direction of each section of the light strip is consistent.
6. The end of the light strip must be put on a PVC tail plug, tighten it with a clamp tape, and then use neutral glass glue to seal around the interface to ensure safety.
7. Because LED has unidirectional conductivity, if you use a power cord with an AC-DC converter, you should first conduct a power-on test after completing the power connection to confirm that the positive and negative poles are connected correctly before putting it into use.
Regarding the issue of how to wire LED strip lights, this article summarizes three key points. The first point is the welding method, the second point is the terminal wiring method, and the third point is the driver connection method. In addition, regarding the precautions for installing LED strip lights, this article summarizes seven points in total for everyone to understand.


