Can You Cut LED Strip Lights
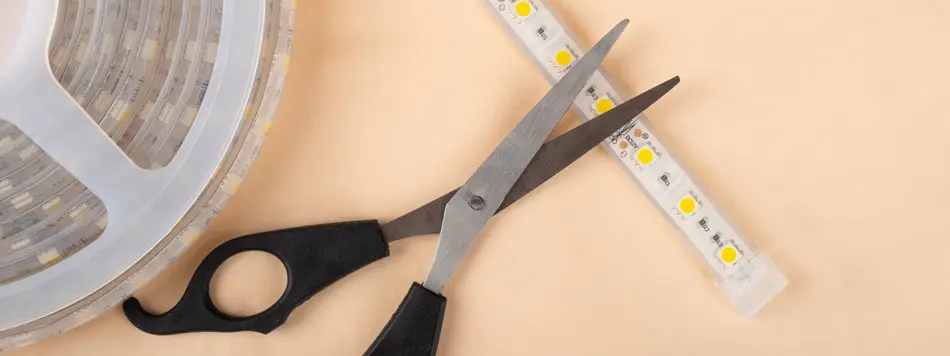
In recent times, LED lights in any form have become heavily favoured all over the world. Whether this has been the social media influence, or people are just noticing the obvious benefits of them across the board.
LED strip lights have been near the top of the list for the most sought-after LED light. Due to their versatility and stylish appearance in any room they’re placed in, users are having great experiences with this product.
However, each strip light will not be the perfect length for every setting. Yet, can you cut LED light strips to find the right length for any setting? Or, are they always fixed in length? Carry on reading to learn more about this revolutionary lighting system.
What is an LED Strip Light?
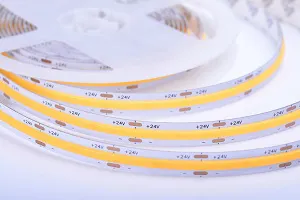
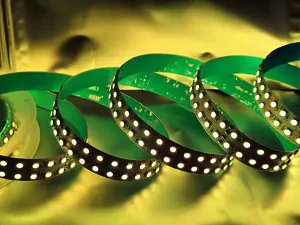
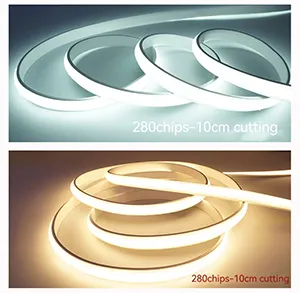
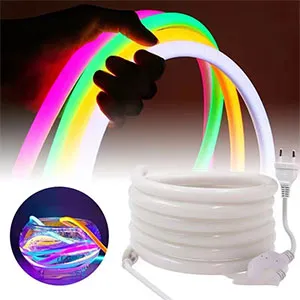
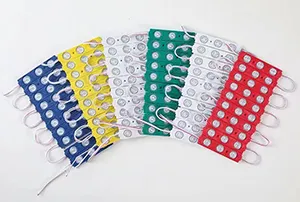
In short, these LED strip lights are either a long strip (or tape) of minuscule LED chips that will have their own desired place on the circuit. The small chip will allow for multiple separate lights to have an individual flash of lighting when switched on.
Therefore, if your strip lights have the capability of flashing, you will see each solitary bulb flash separately – but all will flash in unity (in sync).
When purchasing this best-seller, most strips will vary in length and depth. In this case, before you make a final purchase – you will need to match it up to a length that will substantially fill the space you want it to go in.
In essence, because of this flexibility, these strip lights LED can go in tight and awkward spots such as along walls, bannisters, under cabinets, etc.
No matter the placement, the LED power from this model will supply you with adequate and beautiful lighting – wherever that may be.
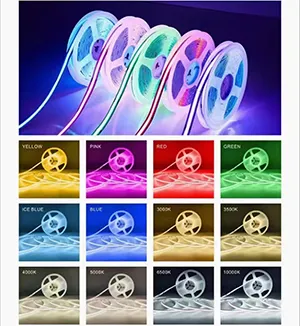
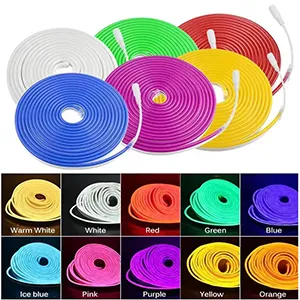
Not only will a plethora of colours be at your disposal, but they will also be able to be placed outside (if the right waterproof casing is purchased).
Depending on your preference, you may want it to look complicated and unique. Therefore, you may have to call a professional to come and install them for you.
If that is not a desire and you just want an easy system to install within your home’s decor, a simplified, quick connector LED strip light system can be plugged in within a matter of minutes. This way, your power supplies and decorative accessories will cause no stress to your household’s aesthetic.
Are LED Strip Lights Possible to Cut?
Within your home, you’re very rarely going to have a surface that will match up to the length of the plastic strip lights. Consequently, for the most part, you’re going to need some parts to be cut off to align with your home’s design. Is this possible?
In short, yes – it is possible to cut LED strip lights. Nonetheless, only certain companies and products will permit this to happen. Taking your time and ensuring that the company or product allows you to cut to the length you need is paramount.
Without correct planning, you could find yourself with strip lights that can’t be cut and won’t fit your specifications. Then, a refund would have to be called upon and that is not what you want to be doing.
Thus, if you take the necessary precautions and purchase the right product – you will see that there are cut lines along the wire.
After cutting, if you want to carry on using the other proportions – ensure that you buy the required 4-pin connector to mould them back together for easy use.
Nevertheless, before that, you need to understand how to cut and use these LED strip neon bulbs – after you’ve cut them. Below you will see a step-by-step guide to follow on how to do this:
How Do You Use LED Strip Lights After Cutting Them?
As we’ve briefly mentioned, where there is a ‘cut’ line on your LED strip lights is the most crucial part of this process. If you cut them in a position where the cut line isn’t visible, your whole lighting system may not work.
After these precise, incremental marks have been cut to your desired length, you will next want to put the strip light connectors in the correct position and turn them on.
Unfortunately, it is not that easy. Although, if you follow our step-by-step instructions, you will have working LED strip supplies in no time. Here is what you will need to do:
Step 1: Ensuring The Surface is Dry and Cleansed
If you’ve followed everything we have said so far, none of this will work if your surface is not dry or cleansed. Wet or dusty surfaces affect the stickiness of your LED lights and will make for an anti-climactic experience.
Even if you have to check for dust-build up and give it a quick wipe-down, this will make all of the difference.
Step 2: Stick Your LED Strip Lights Onto Desired Surface
After going through a thorough cleanse, you will now be able to position the LED lights and paste them on accordingly. With most strip lights, you will then simply be able to tear off any tape or extrusions and stick it to your desired position effectively.
Step 3: Connecting Your LED Strip Lights
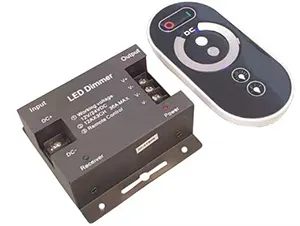
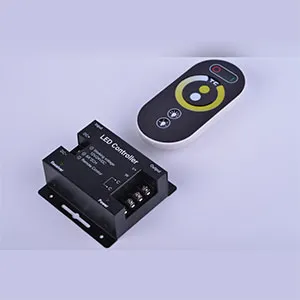
Depending on the strip light set you have bought from a specific online shop (or in-store), you will be provided with controllers and connectors. The connector can bind the strip lights and the controller so you can choose desired colours or sequences.
Carefully reading the instructions so nothing is installed the wrong way around is vital to a successful and productive operation.
Step 4: Plug in Your LED Strip Light and Turn it on
Once all the instructions are followed and your connector is linked to your controller, you will now have the green light to plug in your system.
When you’ve bound your controller and power supply together – you will see that the LED strip lights will be turned on for you to have fun with.


