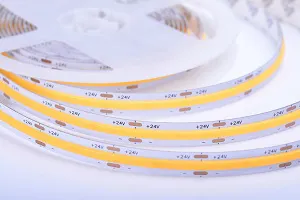
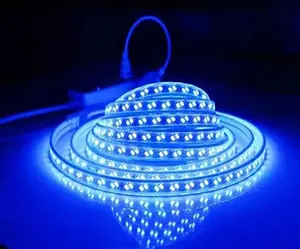
How to Install SMD LED Strip Lights?
Installing SMD LED strip lights can dramatically enhance the ambiance of any space, from under-cabinet kitchen lighting to subtle accents in a living room. Here’s a detailed guide to help you install these versatile and energy-efficient lights effectively.
Choose the Right LED Strip
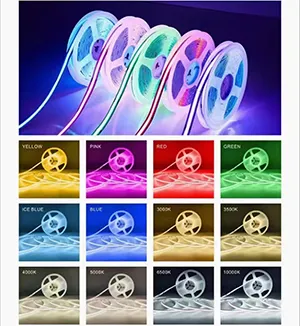
First, select the appropriate SMD LED strip lights for your project. Consider factors like color temperature, which ranges from warm (around 2700K) to cool white (over 6000K), and luminosity, typically measured in lumens per foot. For a home setting, strips offering 450 to 800 lumens per foot strike a good balance between ambiance and functionality.
Prepare Your Space
Clean the area where you will attach the LED strip. Surfaces should be free of dust and grease. If the space is porous or uneven, apply a primer to ensure the adhesive bonds well.
Measure and Cut
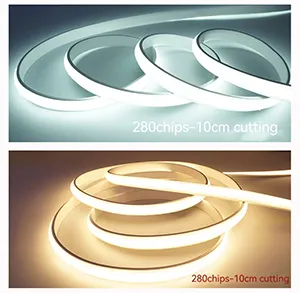
Measure the length of the area you want to light up and then cut the strip on the designated cut marks—usually every 1 to 2 inches along the strip. This ensures you won’t damage the circuitry inside.
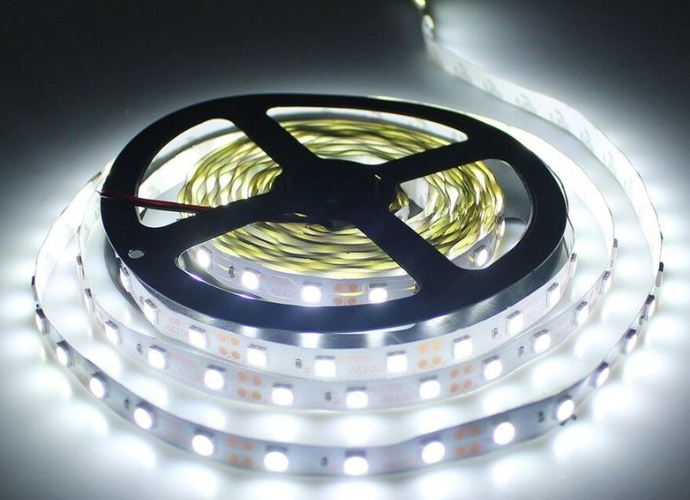
Connect and Position
If your project spans several lengths of LED strip, you’ll need connectors. These can be simple clip-on connectors or soldered ones for a more durable connection. Once connected, carefully remove the adhesive backing and stick the strips to your prepared surface. Make sure to press down firmly along the entire length for a secure fit.
Wiring and Power
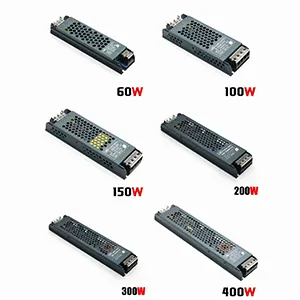
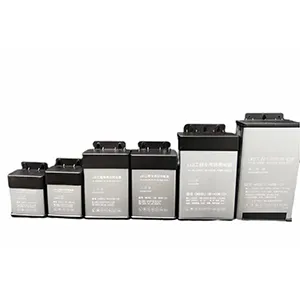
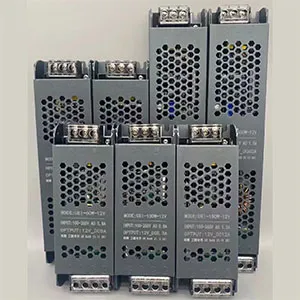
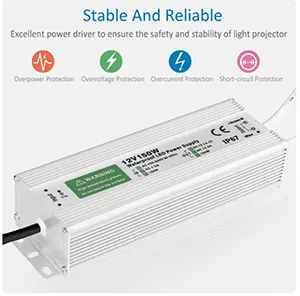
LED strips require a power source that matches their voltage and capacity. Most SMD LED strip lights operate on 12V or 24V. Use a power supply that can handle the total wattage of your strips. For example, if you have 10 feet of LED strip rated at 4 watts per foot, you’ll need at least a 40-watt power supply. Connect your strips to the power supply using a compatible LED driver and ensure all connections are insulated.
Final Testing
Before you finalize everything, test your connections by turning on the lights. Check every section for uniform brightness and color. This step will help you catch any issues before you finish the installation.
Enhance Your Installation
Consider using aluminum channels for mounting your SMD LED strip lights. These channels help dissipate heat and provide a more polished look, preventing the strip from sagging or bending irregularly.
Enjoy Your New Lighting
Once everything is connected and mounted, turn on your LED strips and enjoy the new look of your space. Whether it’s adding a soft glow under your kitchen cabinets or highlighting architectural features, SMD LED strip lights can make a significant impact on the aesthetics and functionality of your home.
This guide provides you with a clear pathway to successfully installing SMD LED strip lights, ensuring long-lasting performance and a stunning visual upgrade to any room or project area.


