How to Install Neon Strip Lights?
Getting Started: Essential Tools and Materials
Before diving into the installation of neon strip lights, ensure you have the right tools and materials. You’ll need a pair of scissors or a sharp knife for cutting the strips, a tape measure for precise placement, and strong double-sided tape or mounting clips for secure attachment. For those planning to customize their lighting setup, a soldering iron might be necessary for connecting sections of lights.
Step-by-Step Installation Guide
Step 1: Plan Your Design Begin by sketching out where you want your neon strip lights to go. This could be along the edges of your ceiling, around a door frame, or under cabinets. Measuring the lengths carefully will help you determine how much strip you need and where you may need to cut and connect.
Step 2: Prepare the Surface The surface where you’ll attach the strip lights should be clean, dry, and smooth. Wipe it down with a cloth and some isopropyl alcohol to remove any grease or dust. This ensures the adhesive backing on the strip lights sticks well and provides a long-lasting hold.
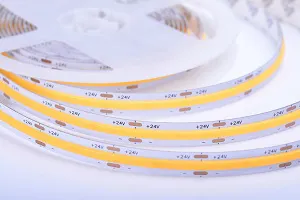
Step 3: Cut the Strip to Length If your strip needs to be shortened, cut it only at the designated cutting points to avoid damaging the internal components. These points are usually marked with a line and scissor icon along the strip.

Step 4: Attach the Strip Lights Peel off the adhesive backing and stick the strip carefully along your predetermined path. If you’re using mounting clips for extra support, space them about every foot along the strip to prevent sagging.
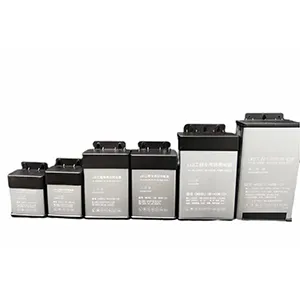
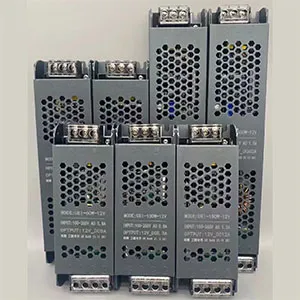
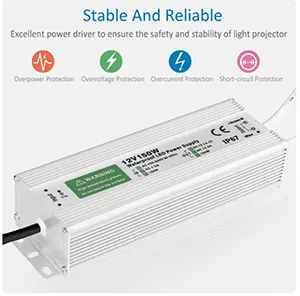
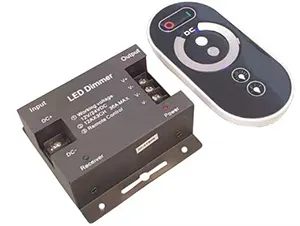
Step 5: Connect to Power Once your strips are in place, it’s time to connect them to power. If your setup is simple, this might just involve plugging the strip’s adapter into a power socket. For more complex installations involving multiple strips, you may need to solder wires to connect the strips together before hooking them up to a power source.
Step 6: Test Your Lights After everything is connected, turn on the lights to test your installation. Check for any dim sections or connectivity issues. If all parts light up uniformly, you’ve successfully installed your neon strip lights!
Creative and Functional Uses of Neon Strip Lights
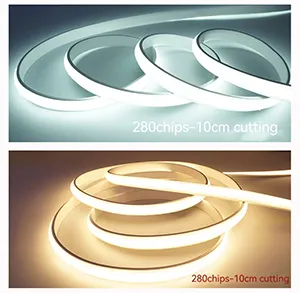
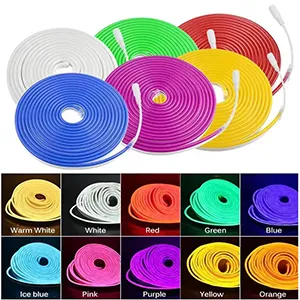
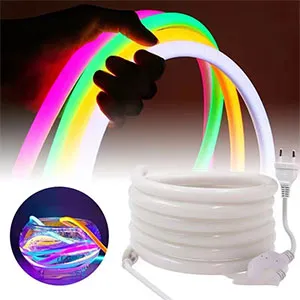
Neon strip lights aren’t just for ambiance; they’re also perfect for practical applications like under-counter kitchen lighting or as a nightlight along hallways. Their low profile and bright output make them ideal for both highlighting and functional lighting in homes and businesses.
Explore Neon Strip Lights for more information and ideas on how to enhance your space.
Final Thoughts
Installing neon strip lights is a straightforward process that can dramatically transform any space. With the right preparation and a bit of creativity, these flexible, durable lights can provide both aesthetic enhancement and practical illumination wherever you need it.


