


How to Cut and Connect Neon Strip Lights?
Precision and Planning: Key to Customizing Neon Strip Lights
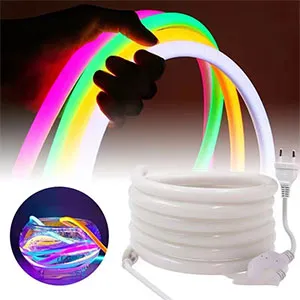
Customizing neon strip lights to fit specific dimensions and designs is an integral part of many lighting projects. Whether you’re creating a vibrant display or adding accent lighting to your home, knowing how to properly cut and connect these strips is essential.
Step 1: Measure Twice, Cut Once
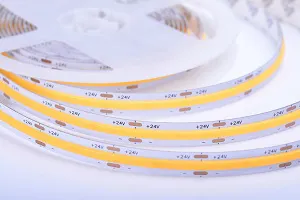
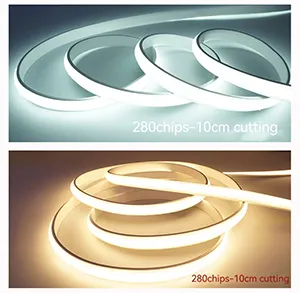
Before you cut your neon strip lights, precise measurement is crucial. Determine the exact length needed for your project and make note of it. Most neon strip lights come with marked cutting points along the strip, typically every few inches (often 2 to 6 inches, depending on the model). These are the only places where you should cut the strip to ensure it remains functional.
Step 2: Making the Cut
Using a sharp pair of scissors or a blade, make a clean, straight cut at the designated cutting line. It’s important to cut precisely along this line to avoid damaging the circuitry inside the strip, which could prevent the cut sections from lighting properly.
Step 3: Preparing for Connection
Once your strips are cut to the desired lengths, the next step is connecting them. If your design requires angles or you need to extend across a space, you’ll likely need to connect multiple segments. For this, you will use either solderless connectors or by soldering for a more permanent connection.
Using Solderless Connectors
Solderless connectors are ideal for quick and easy connections, especially suitable for those who prefer not to solder. To use these:
- Open the connector.
- Insert the end of the strip into the connector, ensuring the contacts touch the connector’s terminals.
- Close the connector firmly to secure the strip in place.
Soldering for Secure Connections
For a more durable and reliable connection, soldering is recommended. Here’s how to do it:
- Strip a small section of the silicone cover at the ends of each strip you wish to connect.
- Tin the exposed contacts with solder.
- Align the contacts of the two strip ends and solder them together, ensuring a good electrical connection.
Step 4: Testing Your Connections
After connecting your strips, it’s important to test them before final installation. Connect your neon strip lights to a power source and check that all connected segments light up uniformly. Address any segments that do not light up or show weaker illumination.
Ensuring a Bright, Seamless Display
When cut and connected correctly, Neon Strip Lights can provide a continuous, vibrant light source that enhances any space. Ensure that your connections are tight and secure to avoid any interruptions in your lighting display.
Final Thoughts
Cutting and connecting neon strip lights allows for customized lighting solutions that can fit any space and design. With the right tools and techniques, you can achieve a professional-looking installation that brings your creative visions to life. Whether for aesthetic enhancement or practical illumination, neon strip lights offer versatility and vibrant results.