


led strip lights source Installation Practical Guide
LED light source products are a type of electronic product. Although the installation process is not as complicated as imagined, there are many details that need to be paid attention to. The points to pay attention to are different depending on the type of light source. Today, let's learn about the installation strategy of the light source!
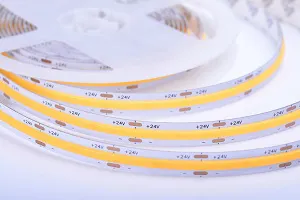
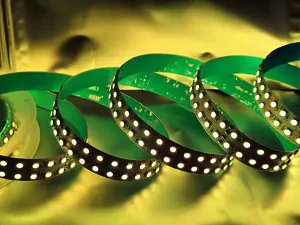
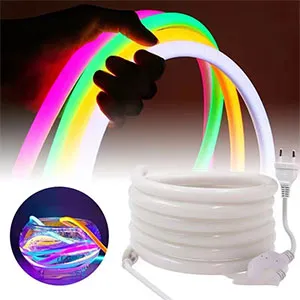
Soft lights strip
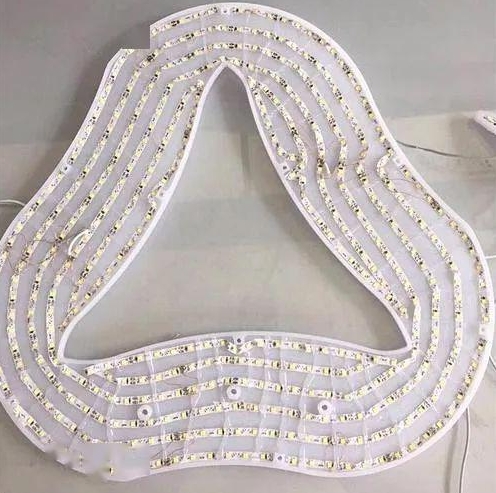
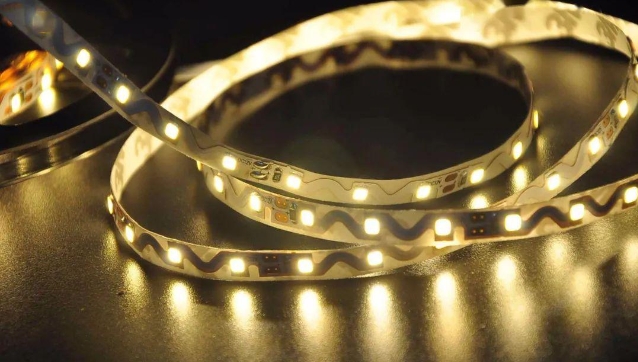
1. Q: Why is the S soft light strip easy to break?
A: The S soft light strip itself is designed for easy installation. When installing, you should pay attention to bending along the S mouth, and do not bend the position of the lamp and resistor. When bending, try to stay 3-4mm away from the components. Remember not to bend repeatedly, which may easily cause the copper foil of the circuit board to break. When choosing an S-shaped soft light strip, you can also choose a brand produced by a large factory with good quality and reputation.
2. Q: What should I pay attention to when installing an S soft light strip?
A: The soft strip can basically be cut to any 3 lights. Please cut the mouth at the corresponding position. If you need to weld the wire ends, also weld the corresponding positive and negative poles firmly. The soft strips are all equipped with adhesive backing. Stick them according to the font shape first. There is no problem with the wiring test light. You can glue it on the blank board and fix it. Be sure not to get the glue on the lamp beads. Please pay attention to replenishing the power once every 1.5 meters to ensure that the light strip has no voltage drop. Due to fonts, density and other reasons, try to avoid overlapping strips; when welding, keep the distance between the solder joints as far as possible to avoid possible short circuits.
3. Q: Can the soft light strip be attached to the metal plate?
A: The solder pad on the back of the soft strip will conduct electricity with the metal plate, causing a short circuit, so it should be painted for insulation.
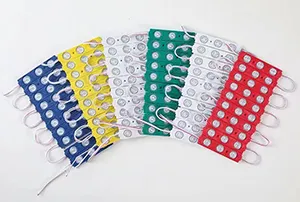
LED Modules
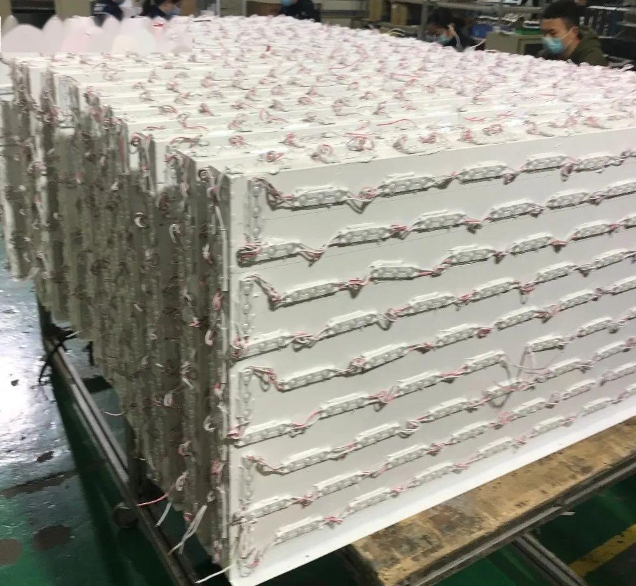
1. Q: How many red and white light modules are generally installed per square meter?
A: Depending on the font, there are generally 60-70 red lights and 70-80 white lights.
2. Q: How to choose the color temperature of the module according to the color of the cover panel?
3. Q: What is the correct way to install and fix the module?
A: Use double-sided tape on the back of the plastic shell for initial fixation, and then use glass glue (glass glue must be neutral) for auxiliary fixation. After applying glass glue, be sure to clean the surface of the module with a towel to avoid covering the lamp beads with glass glue and affecting the service life of the lamp beads. Try to leave as much time as possible when sealing the cap to allow corrosive gases to evaporate and extend the life of the LED module.
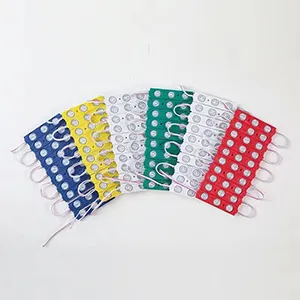
4. Q: During the installation of the module, what are the requirements for the number of series connections?
A: When installing LED modules in plastic characters or boxes, try to form as many loops as possible, and try to minimize the number of module series groups, not more than 40 groups, and the seven-color series should not exceed 20 groups, otherwise it will be affected by voltage drop, and it is very likely that the single-circuit current will be too large to burn the circuit board! When the number of modules exceeds 25 groups, please connect them separately and then connect them in parallel to the outside of the luminous character box with high-quality copper core wires larger than 1.5 square millimeters. The length of the power cord should be as short as possible. If it exceeds 3 meters, the wire diameter must be appropriately increased. The unused wires at the end of the module must be cut off and bonded firmly to avoid short circuits.
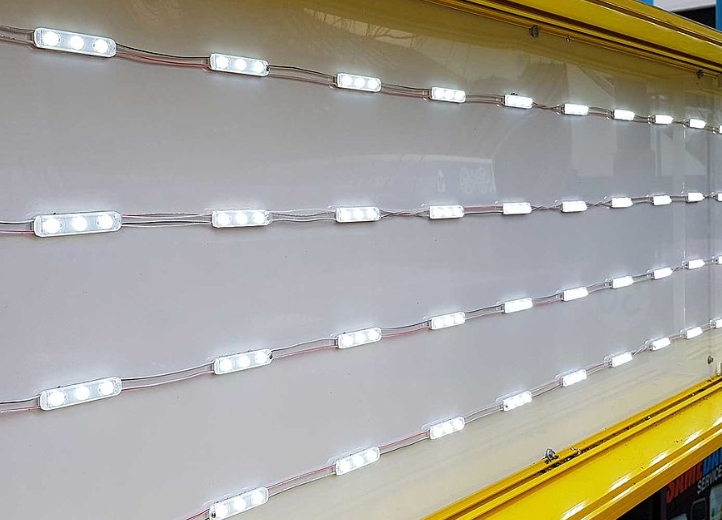
5. Q: What is the recommended installation spacing for the modules?
A: The spacing of the LED modules can be adjusted according to the actual conditions such as brightness and module size. The number per square is generally between 50-100 groups. When arranging LED modules, attention should be paid to the uniformity of light emission and brightness requirements; the distance between the module and the edge of the font is generally 2-5 cm, and the vertical and horizontal distance between modules is recommended to be 2-6CM. When installing the LED module, do not push or squeeze the components on the module to avoid damaging the components. The connecting wires inside should be fixed to the floor with glass glue to avoid shading. When making luminous characters with smaller strokes, place the lights more densely and apply reflective paint around the characters, otherwise it will not be bright enough when placed together with characters with larger strokes.
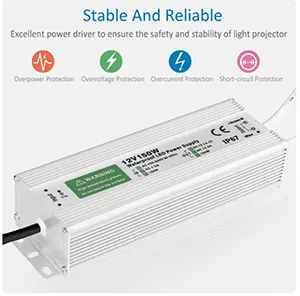
6. Q: What should I pay attention to when selecting the power supply for the module?
A: The LED module uses low-voltage input, so it must not be directly connected to 220V without passing through the power supply, otherwise the entire module will burn out.
7. Q: For full-color modules, what issues must be paid attention to when installing?
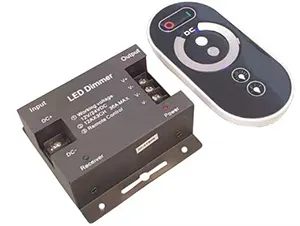
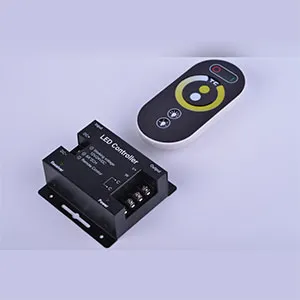
A: Before installation, you must make sure to prepare the installation drawings, and install the light source in the order on the installation drawings during installation. If you make a mistake, you can only reinstall it, which is troublesome and laborious. And when connecting the signal line, you must also pay attention to the signal input and output issues, and the controller is also particularly important.
8. Q: What issues should be paid attention to when wiring the module?
A: There are at most two strings in series between modules. When connecting the main line, it is best to make a double circuit. This will prevent problems with the power supply at one end and ensure normal operation. When wiring, try to use soldering. If soldering is not possible, try to connect more wires at the joints of the two wires to increase the contact area of the two wires, and try to stagger the positive and negative terminals to avoid short circuits due to aging and leakage of the wires in the later stage.
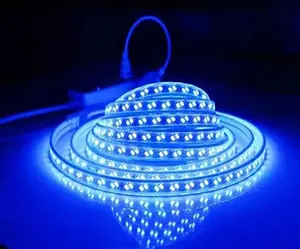
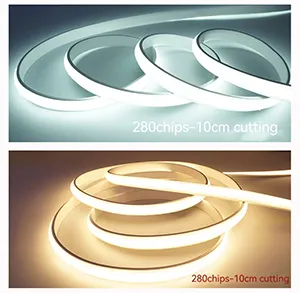
Hard light strip
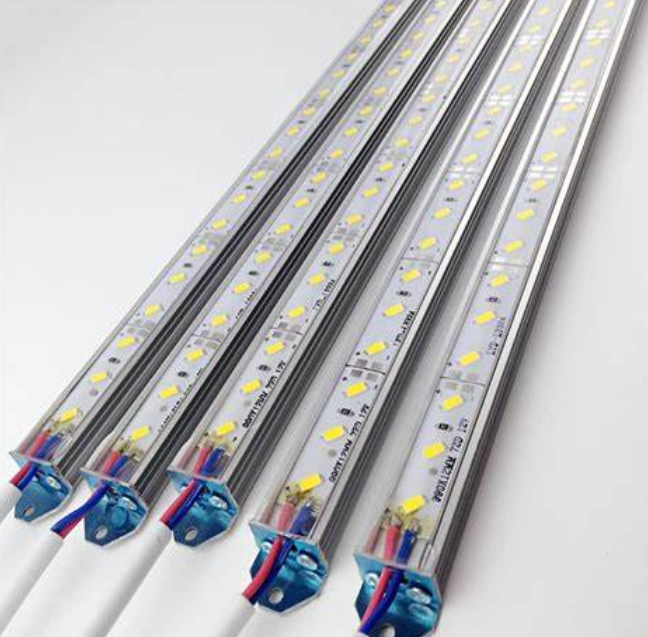
1. Q: What kind of light strips are good and low-cost for a single-sided light box?
A: First look at the thickness of the light box. The ultra-thin light box is 1-4CM thick, and a 4MM wide aluminum plate with 72 lights and 90 lights is used. The 4-10 cm thick light box has two lighting effects, backlighting and side lighting. You can choose the side lighting solution or the backlighting solution. At the same time, consider whether the customer's light box is indoors or outdoors and whether it needs waterproofing.
2. Q: How to connect the wires without burning the wire ends when using long strips?
A: It is recommended to connect a loop every 20 strips in parallel to the main line. It is best to weld the joints and then wrap them with electrical tape or use wiring caps.
3. Q: What is the installation spacing of diffuse reflection light strips?
A: Generally, a 8CM thick light box can achieve a spacing of 13-15CM.
4. Q: What is the best way to fix the light strips?
A: It is recommended to choose to install clips. It is not recommended to fix the light strips with screws, and it is not recommended to tie them with cable ties.
5. Q: What should be paid attention to during the installation of high-voltage light strips?
A: Remember not to operate with power on. Make sure that the installation is complete and there are no exposed wires before you can power on and test the light. If there is a problem, remember to solve the problem after turning off the power. If there are exposed wires, wrap them with insulating tape to avoid short circuits.
6. Q: What should be paid attention to when installing roller shutter light strips?
A: The light strips should not be pulled too tight during installation to prevent the wires from being pulled out due to thermal expansion and contraction. It is forbidden to place or press the tools on the surface of the light strips, which can easily damage the resistors or the surface of the light strip chips. It is forbidden to hold the light strip in the middle and pull it upward, which can easily cause the light strip to bend and damage. After the light strips are installed, it is best to light up the aging test for one night or a few hours, and solve the problems in time, thereby greatly reducing the failure rate.
7. Q: What should be paid attention to during the installation of waterproof light strips?
A: For some waterproof light strips, after installing them on outdoor wall light boxes, please be aware to advise customers to pull up the light box canvas in time to avoid water vapor entering the light strip due to rain or humid air, which will aggravate the oxidation of the solder feet.
8. Q: How to dock without shadows?
A: The best effect is to dock one end at a time, and no shadows will be produced.

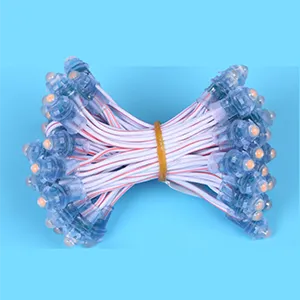
String Lights
1. Q: Can 9MM String Light pass through 3MM thick aluminum plate? What is the appropriate size of the hole?
A: Yes, it will not affect the effect. 9MM is just right.
2. Q: How to connect the 9MM String Light so that the brightness is not different?
A: Now the star lights are all in a string of 50. It is recommended to connect them in parallel, and at least one main line head is connected for every 50. The power output is divided into multiple channels according to the number of terminals, and each channel is evenly distributed.
3. Q: How to choose the size of products for a batch of punched characters?
A: Generally, 9MM can be used for characters below 2 meters; 12, 15MM can be used for characters 3-5 meters; 4-lamp lens is used for large characters over 5 meters. Try to use a perforated lamp to try the punching size before punching to avoid the difficulty of installing the string light due to slight differences in the same diameter of the string light due to different manufacturers.
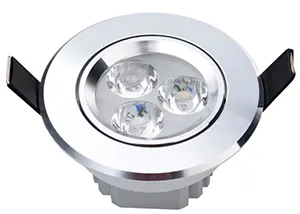
4. Q: When installing the 4-lamp lens, use screws or rivets? What size of screws is used?
A: It is generally recommended to use screws for installation, because the force of the rivet gun cannot be well controlled, which may cause excessive force during installation to squeeze the lamp housing and cause damage. Screws are easy to install and can be disassembled for maintenance. It is generally recommended to use 5*16MM screws.
5. Q: What are the fixing methods for four-point lens LED Modules?
A: Screws, rivets, and plastic clips.
6. Q: When making four-point lens punching characters, is there a range of plate thickness?
A: It is recommended that the thickest should not exceed the national standard 3mm, and the thinnest should not be less than 1.5mm.
7. Q: What is the best viewing distance and minimum viewing angle for four-point lens punching characters?
A: Taking 5-meter large characters as an example, the best viewing distance is 200-300m. The minimum viewing angle should not be less than 45°. If the viewing angle is less than 45°, uneven light will appear on the side of the characters.
8. Q: Take two different types of perforated lamps as an example. If each lamp is 0.1W, and there are 1000 of them, that is, the total power of each type is 100W, one is powered by 5V and the other is powered by 12V, what is the difference in their wiring?
A: It is recommended to use national standard wires. The size of the wire is not the power of the product, but the current of the product. Therefore, from the above case, it can be concluded that the wire used for 5V powered products is much larger than that for 12V products.