


How to install low voltage light strips and high voltage light strips
Many friends know about light strips, and they are usually seen in living rooms. Light strips are divided into low-voltage and high-voltage types, and there are some differences between the two. Many people are also struggling to decide which light strip to buy. Let's take a look at the differences between low-voltage and high-voltage light strips and how to install them. I hope you like it.
The difference between low-voltage and high-voltage light strips

1. Different specifications and lengths
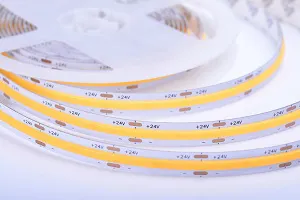
The most common low-voltage light strips are 12V and 24V. Some low-voltage light strips have plastic protective covers, while others do not. The protective covers are not to prevent electric shock (low voltage is relatively safe), but the usage requirements are slightly different. For example, top-lit cloth lights are prone to dust accumulation, so it is recommended to use protective covers for easy cleaning.
Since the substrate of low-voltage light strips is relatively thin and the over-current capacity is relatively weak, most low-voltage light strips are 5m long. If the light strip required for the use scenario is very long, then multiple wiring points and multiple drivers are required. In addition, there are also 20m strips, and the substrate of the light strip is made thicker to increase the current bearing capacity.
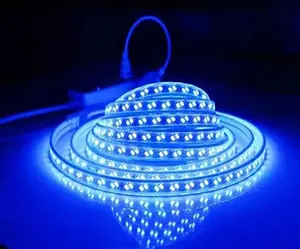
Most high-voltage light strips are 220V, and the length of high-voltage light strips can be 100m continuously. Relatively speaking, the power of high-voltage light strips will be higher, and some 1m can achieve 1000 lm, or even 1500 lm.
2. Different cutting lengths
When the low-voltage light strip needs to be cut, look at the cutting mark on the surface. There is a scissor mark every other section on the low-voltage light strip, which means that this place can be cut. How long is it usually cut? It depends on the working voltage of the light strip.
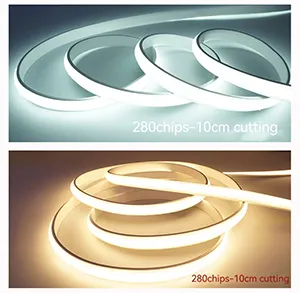
For example, a 24V light strip has six beads and one scissor mouth, and the length of each section is generally 10cm. For example, some 12V light strips are cut at 3 beads, about 5cm.
Generally speaking, high-voltage light strips are cut at 1m or even 2m. Remember not to cut from the middle (need to cut in whole meters), otherwise the whole set of lights will not light up. Suppose we only need 2.5m of light strip, what should we do? Cut 3m out, and then fold the extra half meter back, or wrap it with black tape to prevent light leakage and avoid partial over-brightness.
3. Different application scenarios
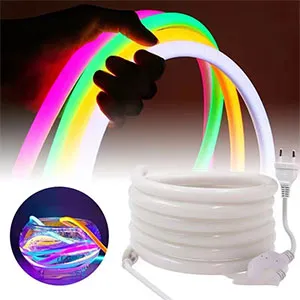
Since low-voltage soft light strips are very convenient to use, after tearing off the protective paper on the backing, you can stick it in a relatively narrow place, such as bookcases, display cabinets, wardrobes, etc. The shape can be changed, such as turning, arc, etc.
High-voltage light strips are generally fixed with buckles. Since the whole lamp is 220V high voltage, it is more dangerous if the high-voltage light strip is used in places that can be easily touched, such as steps and guardrails. Therefore, it is recommended that high-voltage light strips be used in places that are relatively high and cannot be touched by people, such as ceiling light troughs. Note that the high-voltage light strip must be protected with a protective cover.
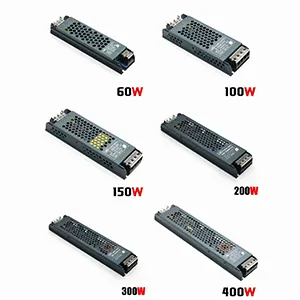
4. Driver selection
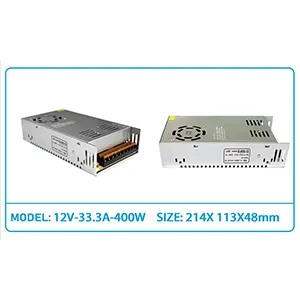
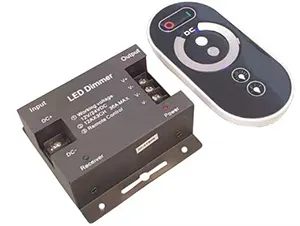
When installing low-voltage light strips, the DC power supply driver must be installed in advance, and after the DC power supply driver is installed, it must be debugged until the debugged voltage is consistent with the requirements of the low-voltage light strip before it can be used. This is a point that needs special attention.
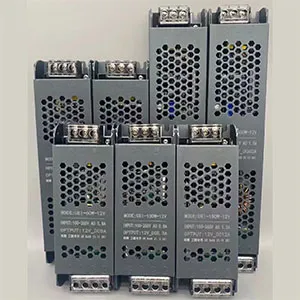
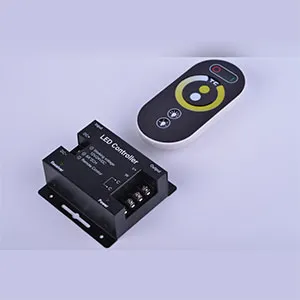
Generally, high-voltage light strips have stroboscopic, so you need to choose a suitable driver. You can use a high-voltage driver to drive it. Generally, the factory can directly configure it and connect it to a 220-volt power supply to work normally.
Low-voltage light strip installation method

(1) The first method of wiring a light strip: (welding method)
The first step is to determine whether the light strip/LED light strip to be installed uses high voltage or low voltage (considering the safety of electricity use, it is best to use a light strip that is started by low voltage electricity). After choosing a low-voltage LED light strip, you need to first observe that there are two dots on every three lamp beads on the light strip, and then weld the wires to the dots. However, some people will choose high-voltage light strips considering brightness and illumination. If it is high voltage, it can be connected with a plug and connected to a household power supply of 220 volts.
(2) The second method of wiring a light strip: (terminal wiring method)
First, all the lamp beads are mixed and connected in series with several resistors. This is a light strip that specifies 12V DC power supply. Directly connect the two output wires of the 12V DC power supply (regulatory or non-regulatory) to the positive and negative wiring terminals of the light strip, and then plug the power plug into a household AC power outlet. You can also use a 12V battery pack to directly drive this light strip.
(3) The third method of wiring the light strip: (driver connection method)
First, the light strip with all the lamp beads connected in series needs to be equipped with a capacitor ballast constant current driver (there is also a better switch constant current driver, which is suitable for driving low-voltage light strips). Insert the two pins of the driver plug into the wire cores of the two leads of the light strip according to the correct polarity, and then plug the driver power plug into a household 220-volt AC power socket.
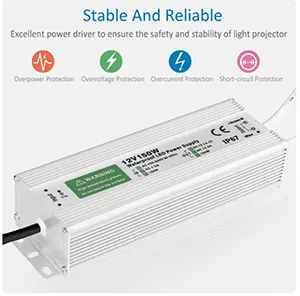
When LED light strips are used outdoors, they will be eroded by rain and ultraviolet rays. If 3M glue is used to fix them, the 3M glue will become less sticky over time and cause the LED light strip to fall off. Therefore, the installation of outdoor LED soft light strips often uses a slot fixation method. Where cutting and connection are required, the method is the same as indoor installation, except that waterproof glue is required to consolidate the waterproof effect of the connection point.