How to wire RGBW light strips?
RGBW light strip is a lighting device with red, green, blue and white LEDs that can create a variety of colorful lighting effects. Wiring an RGBW strip is relatively simple, but it still requires care to ensure a safe connection and get the desired effect. In this article we'll detail how to wire an RGBW light strip
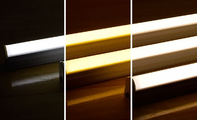
RGBW light strip
Preparation
Before you start wiring, make sure you have the following materials and tools:
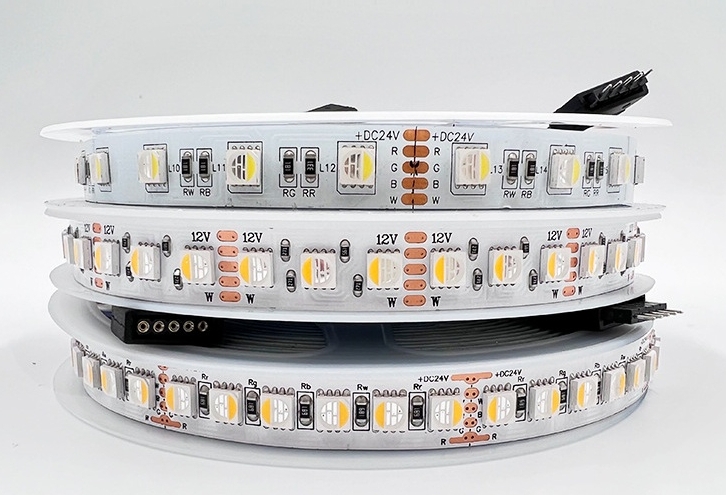
RGBW strip: Buy an RGBW strip that suits your needs and make sure it includes four colors of LEDs (red, green, blue and white).
Controller: RGBW light strips usually require a controller to adjust color and brightness.
DC Power Adapter: Choose a suitable power adapter to meet the power needs of your RGBW light strip.
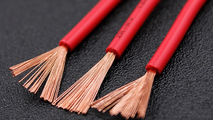
Wires: Purchase the correct gauge of wires to connect the power adapter, controller, and RGBW strips.
Accessories: wire connectors, insulation tape, wire stripping tools, etc.
Step 1: Check the power adapter
First, check the specifications of your power adapter to make sure its output voltage and current match the needs of the RGBW strip. Generally, the operating voltage of RGBW light strips is 12V or 24V, and the current varies according to the length and model of the light strip.
Step 2: Connect the power adapter
Next, connect the power adapter to the power source. This usually involves connecting the plug to the input of the power adapter and then connecting the output wire of the power adapter to the controller.
Step 3: Connect the Controller
Connect the controller to the output of the power adapter. Make sure you follow the instructions on the controller and power adapter instructions. Typically, a controller will have four output channels, corresponding to red, green, blue and white channels.
Step 4: Connect RGBW Light Strip
Connect the RGBW strip to the output channel of the controller. Typically, you'll need to match each color cable (red, green, blue, white) to the corresponding channel on your controller. Make sure the polarity is correct when connecting, i.e. positive to positive and negative to negative.
Step 5: Test the connection
After the wiring is complete, do a simple test without encapsulating the wires or strips to make sure everything is working properly. Plug it in and use the controller to test different color and brightness options to make sure the RGBW strip is working properly.
Step 6: Encapsulating the Wires
Once you've verified that everything is OK, use electrical tape or other appropriate method to encapsulate the wire connections to ensure safety and prevent short circuits.
Step 7: Install the light strip
Finally, install the RGBW strip where you want it. You can use double-sided tape, brackets, or other appropriate mounting methods to secure the light strips.
Now, you have successfully wired the RGBW strip and can start enjoying colorful lighting effects. Remember, safety is the primary concern, make sure wire connections are secure, there are no exposed wires, and the power adapter is the correct size to prevent any potential issues. If you are unsure of your abilities, it is best to seek help from a professional electrician. Hope this article helps you!